Boat owners often wonder, “How often should I change my boat’s oil? What oil should I be using? How Do I change my boat’s oil?”
Well, the answer isn’t always straightforward. Many factors come into play, such as the type of engine, the number of hours or miles of use, and the manufacturer’s recommendations.
Let’s dive in and explore the details to help you make the best decision for your boat’s maintenance.
Frequency of Oil Changes
When it comes to oil changes for your boat’s engine, there isn’t a one-size-fits-all answer. However, some general guidelines apply to most boats:
- Gasoline engines: Every 50 to 100 hours of use, or annually (whichever comes first)
- Diesel engines: Every 100 to 200 hours of use, or annually (whichever comes first)
Remember, these are just guidelines. Always refer to your engine’s owner’s manual for specific recommendations.
If your engine is brand new, it is best to do the first oil change after 20 hours of operation and then move to the standard 50-100 hour schedule, depending on the intensity with which you run your engine. We’ll get to that in a minute.
Factors Affecting Oil Change Frequency
Various factors can influence how often you should change your boat’s oil, such as:
- Type of engine (gasoline or diesel)
- Age and condition of the engine
- Frequency and type of use (e.g., high-speed boating, trolling)
- Operating conditions (saltwater or freshwater, hot or cold climates)
Table 1: Suggested Oil Change Intervals by Engine Type and Usage
| Engine Type | Light Use (hours) | Moderate Use (hours) | Heavy Use (hours) |
|---|---|---|---|
| Gasoline | 100 | 75 | 50 |
| Diesel | 200 | 150 | 100 |
Quick Tips on Changing Boat Engine Oil
- Perform oil changes at the end of the boating season to prevent corrosion and protect the engine during storage.
- Use marine-grade oil that meets your engine’s specifications.
- Always replace the oil filter when changing the oil.
- Dispose of used oil properly by taking it to a recycling facility.
Benefits of Regular Oil Changes
Changing your boat’s oil regularly can provide several benefits:
- Prolong the life of your engine by reducing wear and tear.
- Improve fuel efficiency by maintaining optimal engine lubrication.
- Reduce the risk of engine breakdowns and costly repairs.
- Maintain the engine’s warranty, if applicable.
Can I use Regular Motor Oil for Cars in my Boat’s Engine?
It is not recommended to use regular motor oil for cars in boat engines. Marine engines have unique requirements and operating conditions that differ from those of car engines. For this reason, marine-grade oil is specifically formulated to provide better protection and performance for boat engines.
Marine-grade oil contains special additives that help protect against moisture, corrosion, and wear in the harsh marine environment. Additionally, boat engines often operate at higher loads and for more extended periods than car engines, making the use of marine-grade oil even more critical.
When selecting oil for your boat engine, it’s essential to choose a marine-grade oil that meets the engine manufacturer’s specifications. Make sure that your oil is National Marine Manufacturers Association certified (NMMA). Using the right marine oil will ensure that your engine is adequately protected and performs optimally. Always consult your engine’s owner’s manual or contact the manufacturer for recommendations on the appropriate oil type and weight for your specific marine engine.
What Weight Engine Oil is Used in Marine Engines?
The weight of engine oil typically used for marine engines depends on the type of engine, its manufacturer’s recommendations, and the ambient temperature in which the boat operates. Commonly used engine oil weights for marine engines include:
- 10W-30: This is a widely used multi-grade oil suitable for a variety of marine engines, including both inboard and outboard engines. It provides good protection in moderate temperature ranges.
- 10W-40: Another popular multi-grade oil, 10W-40 offers better high-temperature performance than 10W-30 and is suitable for marine engines operating in warmer climates or under higher loads.
- 15W-40: This weight is often recommended for diesel inboard engines, providing better high-temperature protection and shear stability compared to lighter-weight oils.
- 25W-40: Some marine engine manufacturers recommend this weight, which is formulated specifically for marine applications. It provides excellent protection in a wide range of temperatures and operating conditions.
- SAE 30: A single-grade oil that is sometimes recommended for older marine engines or engines operating in consistently warmer temperatures.
It’s essential to check your specific marine engine’s owner’s manual for the manufacturer’s recommendations regarding the proper oil weight for your engine. The manual will provide the most accurate information tailored to your engine’s needs, ensuring optimal performance and longevity.
How to Change the Oil in my Outboard Engine (2 Methods)
Here’s a general guide on how to do it with the drain plug method, but keep in mind that it’s essential to consult your engine’s owner’s manual for any specific instructions for your particular outboard motor.
Drain Plug Method:
- Gather the necessary tools and materials: You’ll need an oil drain pan, oil extractor pump, oil filter wrench, fresh marine-grade oil, a new oil filter, and some rags or paper towels.
- Warm up the engine: Run the outboard engine for a few minutes to warm up the oil, as warm oil flows more easily and helps to remove contaminants better. Use muffs and a hose as required!
- Turn off the engine: Make sure the engine is off and the boat is secured before proceeding.
- Remove the cowling: Take off the top cover of your outboard engine.
- Remove the oil fill cap: Removing this will allow the oil to flow properly out of the drain plug in the next steps.
- Locate the oil drain plug: Refer to your engine’s owner’s manual to locate the oil drain plug on your outboard motor. This is usually at the lower unit of the engine.
- Place the oil drain pan: Position the oil drain pan under the oil drain plug to catch the used oil as it drains out.
- Remove the drain plug: Carefully remove the oil drain plug using a wrench, allowing the old oil to drain into the pan.
- Extract the remaining oil: If your outboard engine has an oil extraction port, use an oil extractor pump to remove any remaining oil from the engine.
- Remove the old oil filter: Locate the oil filter and use an oil filter wrench to remove it. Make sure the oil drain pan is positioned underneath to catch any oil that spills out. Make sure the old oil filter gasket is with the old filter and not still attached to the engine.
- Prepare the new oil filter: Apply a thin layer of fresh oil to the gasket of the new oil filter. This will help ensure a proper seal when you install it.
- Install the new oil filter: Carefully screw the new oil filter onto the engine by hand so that it is hand tight. If your hands are weak, use an oil filter wrench to tighten beyond hand tight by no more than 1/4 turn. Be careful not to overtighten!
- Replace the oil drain plug: Clean the drain plug and its surrounding area, then reinstall the plug. Replace any rubber seals as necessary. Make sure it’s tightened securely.
- Add fresh oil: Locate the oil fill port on your outboard engine and remove the cap. Slowly pour the recommended amount of marine-grade oil into the engine, using a funnel if necessary. Check the owner’s manual for the correct type and amount of oil.
- Check the oil level: After adding the oil, let it settle for a few minutes, then use the engine’s dipstick to check the oil level. If needed, add more oil until it reaches the appropriate level.
- Start the engine: Run the engine for a few minutes to circulate the new oil. Check for any leaks around the oil filter and drain plug.
- Check the oil level again: Turn off the engine, let it sit for a few minutes, and then check the oil level again using the dipstick. Top off if necessary.
- Dispose of used oil and filter: Properly dispose of the used oil and filter according to local regulations, usually at an authorized recycling center or oil disposal facility.
Remember, this is a general guide. Always refer to your outboard engine’s owner’s manual for specific instructions and recommendations for your particular motor.
Dip Stick Tube Method:
This method can be convenient and less messy, as it doesn’t require you to remove the drain plug. Here is a step-by-step guide on how to change the oil using an extractor pump:
- Gather the necessary tools and materials: You’ll need an oil extractor pump, oil filter wrench, fresh marine-grade oil, a new oil filter, and some rags or paper towels.
- Warm up the engine: Run the engine for a few minutes to warm up the oil, as warm oil flows more easily and helps to remove contaminants better. Use muffs and a hose as required!
- Turn off the engine: Make sure the engine is off and the boat is secured before proceeding.
- Remove the Cowling: Take off the top cover of your outboard engine.
- Remove the oil fill cap: This will allow for proper internal pressures and make pumping the oil out much easier.
- Locate the dipstick tube: Refer to your engine’s owner’s manual to locate the dipstick tube on your outboard motor.
- Insert the extractor pump tube: Remove the dipstick, and insert the extraction tube from the oil extractor pump into the dipstick tube, pushing it down until it reaches the bottom of the oil pan.
- Pump the extractor: Follow the instructions provided with the oil extractor pump to create a vacuum and begin extracting the old oil from the engine. The used oil will be pulled into the pump’s container.
- Remove the old oil filter: Locate the oil filter and use an oil filter wrench to remove it. Make sure you have some rags or paper towels handy to catch any oil that spills out. Make sure that the old oil filter gasket is attached to the old oil filter and not still stuck on the engine.
- Prepare the new oil filter: Apply a thin layer of fresh oil to the gasket of the new oil filter. This will help ensure a proper seal when you install it.
- Install the new oil filter: Carefully screw the new oil filter onto the engine by hand, then tighten it using the oil filter wrench. Be careful not to overtighten.
- Remove the extractor pump tube: Once all the old oil has been extracted, remove the extraction tube from the dipstick tube.
- Add fresh oil: Slowly pour the recommended amount of marine-grade oil into the engine through the dipstick tube, using a funnel if necessary. Check the owner’s manual for the correct type and amount of oil.
- Replace the dipstick: Reinsert the dipstick into the dipstick tube.
- Start the engine: Run the engine for a few minutes to circulate the new oil. Check for any leaks around the oil filter.
- Check the oil level: Turn off the engine, let it sit for a few minutes, and then check the oil level using the dipstick. Top off if necessary.
- Dispose of used oil and filter: Properly dispose of the used oil and filter according to local regulations, usually at an authorized recycling center or oil disposal facility.
Remember, this is a general guide. Always refer to your outboard engine’s owner’s manual for specific instructions and recommendations for your particular motor.
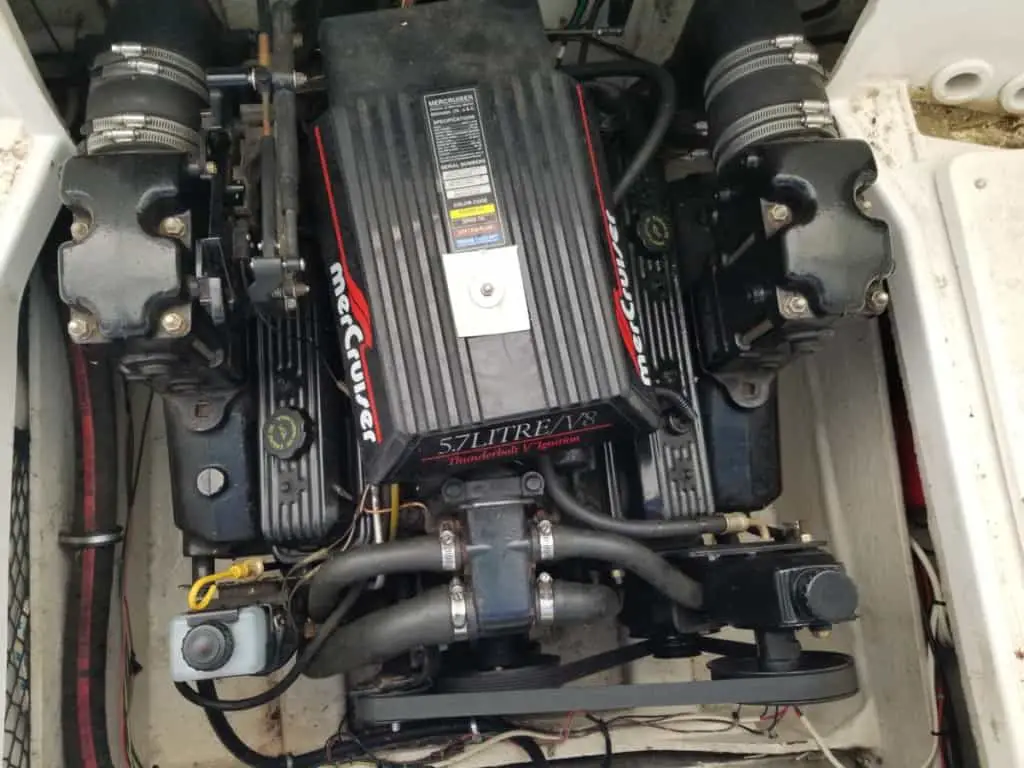
How to Change the Engine Oil (Upper) in an Inboard or Sterndrive (I/O) Engine
These are the general steps to take when changing the engine oil (not the gear lubrication oil for the bottom portion) in an inboard or I/O (sterndrive) boat engine:
- Gather the Necessary Tools and Materials: Oil, oil filter, a container to hold the used oil, a rag, oil filter wrench, funnel, and an oil extractor (pump).
- Warm up the Engine: Make sure to use muffs and a hose and hook them up properly according to your particular engine to provide a water source for cooling.
- Remove the Oil Fill Cap: This will allow the pressures to be correct when you try to extract the oil through the dip stick.
- Connect Extractor to the Dipstick Tube: Remove the dipstick and connect the oil pump extractor to the tube and pump old engine oil into a container for proper disposal.
- Remove Old Oil Filter: Place a rag underneath and then use the oil filter wrench to remove the old oil filter and confirm that the old oil filter gasket is attached and not stuck to the engine. When removing the old oil filter, use a bag that is turned inside out and then turn the bag out once you have the filter in hand. Seal the bag and dispose of properly.
- Install New Oil Filter: Lube up the new oil filter gasket with a thin layer of oil and screw onto the engine. With dry hands, and a dry filter (wipe off if necessary), get the oil filter hand-tight only. If you have weak hands or can’t grip it very well, tighten with an oil filter wrench no more than 1/4 turn past what you can accomplish by hand. Do not overtighten!
- Add Engine Oil: Pour in engine oil with a funnel. Be careful not to add too much. Allow to settle for 5-10 minutes and check the level with the dipstick. Add more if needed until correct.
What Time of Year Should I Change my Boat Engine’s Oil?
The best time of year to change your boat engine’s oil is typically at the end of the boating season, before winterizing your boat. This is because used oil can contain contaminants and acids that can corrode engine components over time, especially during periods of inactivity. By changing the oil at the end of the season, you’re ensuring that your engine is protected during winter storage.
However, if you use your boat year-round or in a region where the boating season is not affected by cold weather, it’s still essential to follow the manufacturer’s recommended oil change intervals based on hours of operation or mileage. In this case, you may need to change the oil more frequently, depending on how often you use your boat.
Remember to consult your engine’s owner’s manual or contact the manufacturer for specific recommendations on when to change the oil for your particular marine engine.
Final Takeaways
Changing your boat’s oil at the right intervals is essential for maintaining your engine’s performance and longevity. Always consult your owner’s manual and consider factors like engine type, usage, and operating conditions when determining the best oil change frequency for your boat. Regular oil changes can save you time, money, and headaches in the long run, so don’t overlook this crucial maintenance task.