Are your boat seats looking a little worse for wear? The sight of worn-out vinyl might seem daunting, but don’t worry, because you can rejuvenate your boat’s interior by replacing the vinyl on your boat seats.
This comprehensive guide is here to help you every step of the way, explaining how you can breathe new life into your boat’s seats with fresh, vibrant vinyl.
Why Replace Your Boat Seat Vinyl?
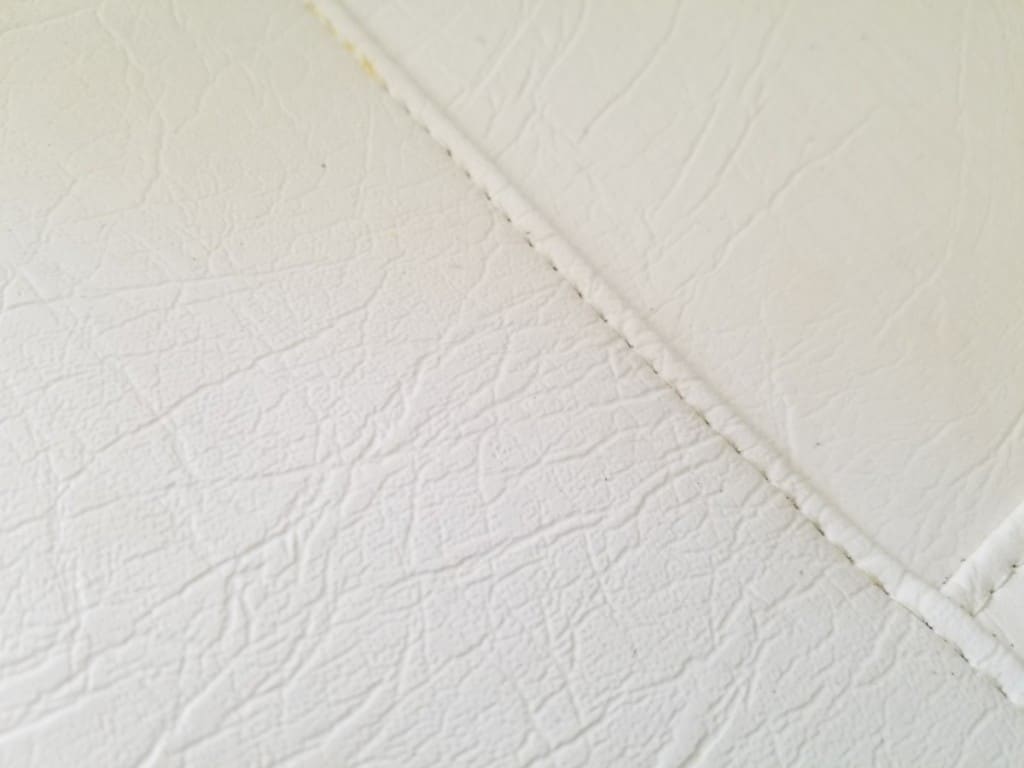
Boat seat vinyl is prone to wear and tear over time. Prolonged exposure to harsh weather conditions, water, and the sun can cause the vinyl to crack, fade, or become brittle. But don’t let this deter you from enjoying your time on the water. Replacing your boat seat vinyl not only spruces up your boat’s aesthetics but also ensures a comfortable ride for you and your guests.
Materials You’ll Need for Replacing Boat Seat Vinyl
Before we dive into the process, let’s gather the materials you’ll need (Amazon links):
- Replacement marine vinyl: A high-quality choice is the Marine Vinyl Fabric which offers a great balance between durability and ease of use.
- Staple gun and staples: The Arrow Fastener T50 Heavy Duty Staple Gun is a reliable and user-friendly option. As for the staples, we recommend using Spotnails stainless steel 304 chisel point staples (3/8″), as they resist rust and corrosion.
- Flathead screwdriver or staple remover (trust me, you won’t regret using the staple remover as you’ll save lots of time and frustration).
- Hairdryer
- Scissors
- Marine adhesive (optional): 3M Marine Adhesive Sealant 5200 is a good choice if you decide to use adhesive.
Step-by-Step Guide to Replacing Your Boat Seat Vinyl
So, you’ve got your tools and materials ready. Now, let’s walk through the process, step by step.
Step 1: Remove the Old Vinyl
The first step is to remove the old vinyl from the boat seat. The vinyl is usually secured by staples on the underside of the seat. Use a flathead screwdriver or a staple remover (recommended by the upholstry pros from Amazon) to pry out these staples gently. Be careful not to damage the foam cushioning underneath.
There’s a good chance that you will have several steps before getting to the vinyl, depending on your particular seat. It’s not uncommon to find that you’ll first need to remove a strip of hidem first, which is a stapled-down rim on the underside of your seats that make it appear as if the vinyl were sewn. This is decorative hides staples and needs to be pried off with a flatbar.
After that, you may have to remove staples that hold on a backing material. Once those are removed, the vinyl will now be accessible.
Step 2: Inspect and Prepare the Seat
Once the old vinyl is off, it’s time to inspect the foam cushioning. If it’s still in good shape, great! If not, consider replacing it before proceeding. If you have garment steamer, you can steam the foam cushions and it should revive some life into them.
Step 3: Measure and Cut the New Vinyl
Next, lay the old vinyl cover on top of your new marine vinyl fabric. Use it as a template to cut the new cover, leaving several inches on all sides for stretching and stapling. You’re going to need to have something to grab onto in order to pull and stretch the vinyl when stapling, so don’t be shy about having extra. You will trim off the excess at the end.
Step 4: Staple the New Vinyl
Place the new vinyl over the seat, ensuring it’s centered and smooth. Starting at one point, pull the vinyl taut and staple it to the underside of the seat. Continue this process on the opposite side, and then repeat on the remaining sides. The staples should be about an inch apart maximum, and you’ll likely be doing much closer than that.
Step 5: Deal with the Corners
The corners might be a bit tricky, but don’t worry! You may need to make small pleats or folds to get the vinyl to lay flat. Heating the vinyl with a hairdryer can make it more pliable and easier to work with. The hair dryer is going to be your best friend when tackling any corners or curves! Once satisfied, secure it with staples.
Step 6: Check Your Work
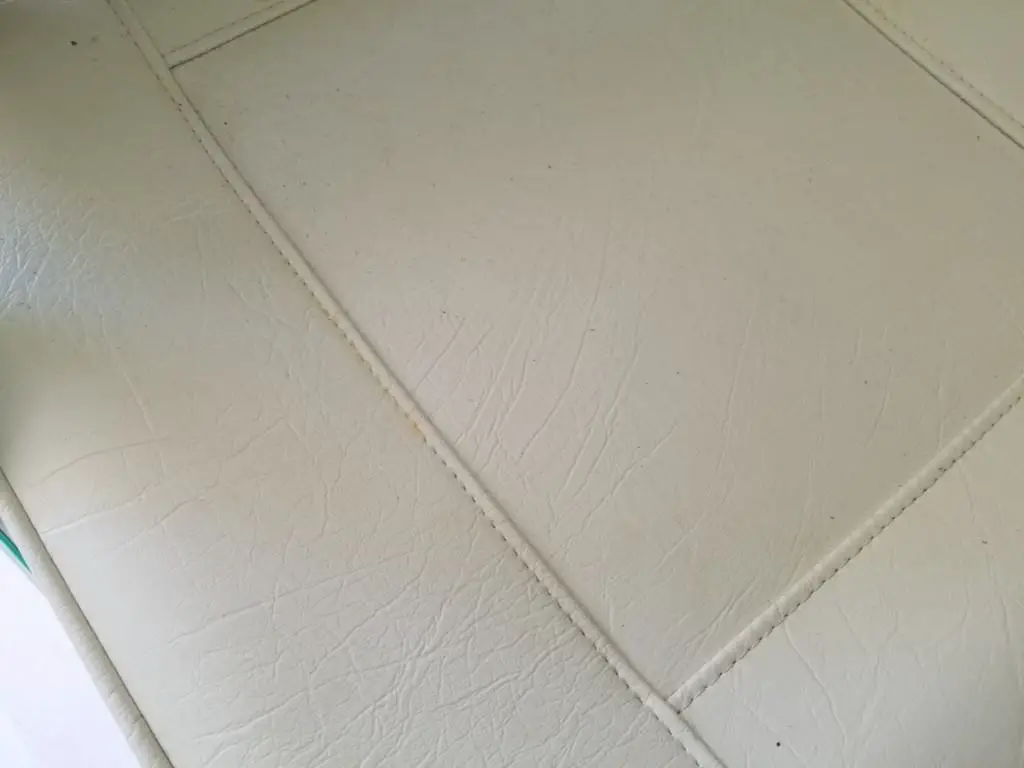
Now that the vinyl is secured and trimmed, take a moment to inspect your work. Check that the vinyl is smooth and tight across the seat with no wrinkles or loose areas.
Step 7: Trim the Excess Vinyl
After you’ve secured the entire piece, go around the edges and trim any excess vinyl with a pair of sharp scissors or razor blade. Be careful not to cut too close to your staple line, as you don’t want the vinyl to come loose. Take your time!
Step 8: Attach Backing Material (if applicable) and Hidem Material
With the excess vinyl trimmed away, go ahead and position the backing material (if yours has it) to cover as many of the staples from the vinyl as possible. Lay the backing material down and take note of where the hidem material will be going. When you staple the backing material down, you want a single line of staples that hold it down and you want the staples to be located ONLY where the hidem material will be going, so that the hidem will cover them up.
Once the backing material is stapled, staple the hidem material on top.
Step 9: Reinstall the Seat
Finally, it’s time to reinstall the seat on your boat. Follow your boat’s specific procedure to ensure the seat is safely and securely reinstalled.
How to Protect and Prolong the Life of Your New Vinyl Boat Seats
After investing time and effort into replacing the vinyl on your boat seats, you’ll want to ensure that they remain in great condition for as long as possible. Here are some tips on how to protect your new vinyl seats and prolong their useful life:
Regular Cleaning
The first step to keeping your vinyl boat seats in top shape is regular cleaning. This doesn’t have to be a complicated process. Simply wipe down the seats with a damp cloth after each use to remove any dirt, salt, or other residues.
For a deeper clean, use a specialized product like the 303 Marine Vinyl Cleaner (Amazon). This product is specifically designed to safely clean vinyl surfaces without causing any damage. Spray the cleaner onto the vinyl, let it sit for a few minutes to break down any dirt or grime, then wipe it off with a soft cloth.
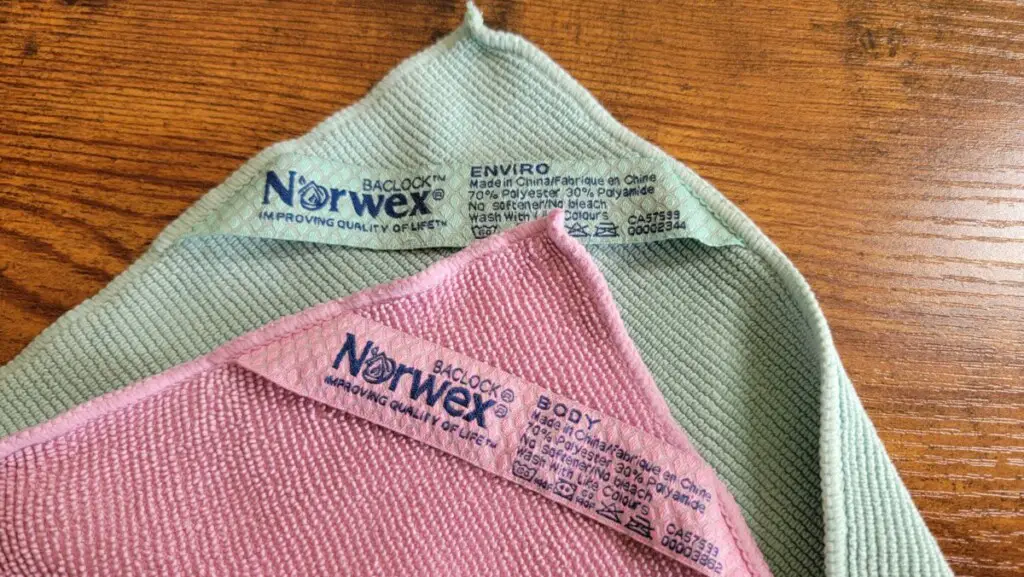
Another great option is to keep some Norwex Envirocloths on hand for regular wipe downs when you don’t want to bother with chemicals. Simply get the rag damp, wipe, and let dry. We keep these on hand in our cars, on our boat, and in the house for cleanups and they work well on stains with water alone.
Another great product from them is the Body Cloth, which allows you to do a quick wipe of the pits & bits with just water after you’ve been on the hot water all day and need a quick freshening up. We always keep these on hand as well, and I was a skeptic about not using soap but they travel with me everywhere and bail you out of situations when you start to feel “unsure”. Using these will also keep your body oils to a minimum on your vinyl seat covers!
Protect Against UV Damage
One of the biggest threats to vinyl boat seats is UV damage from the sun. Over time, exposure to UV rays can cause vinyl to fade, crack, and deteriorate.
To protect against this, use a product like 303 Marine Aerospace Protectant (Amazon). This is a UV protectant spray that provides a durable shield against harmful UV rays, reducing the risk of fading and degradation. Simply spray it onto the vinyl and wipe off the excess with a clean cloth.
Use Seat Covers
Another effective way to protect your vinyl boat seats is by using seat covers. These covers provide a physical barrier against UV rays, as well as dirt and other potential damage. They’re particularly useful when the boat is not in use.
A high-quality option to consider is the iCOVER Boat Folding Seat Cover (Amazon). These covers are easy to install, durable, and designed specifically to protect against sun damage, rain, and bird droppings.
Avoid Sharp Objects
Sharp objects can easily puncture or scratch vinyl, so be mindful of what you bring onto your boat. If you’re carrying fishing gear, coolers, or other items with sharp edges, make sure they’re securely stowed away from the seats.
Inform guests that shoes are not to be put on the boat seats, and make sure to keep those bottle cap opener flip flops off your boat! They are notorious for scratching surfaces on boats and ripping upholstery.
How Much Does it Cost to Have Vinyl Seats Repaired and Replaced Professionally?
The cost of having the vinyl on boat seats professionally repaired or replaced can vary significantly depending on a number of factors, including:
- The extent of the damage: Minor repairs, such as patching a small tear, will generally be less expensive than replacing the entire vinyl covering of a seat.
- The number of seats: Naturally, the more seats you need to have repaired or replaced, the higher the overall cost will be.
- The type and quality of the vinyl: Higher-quality vinyl, or vinyl with special properties (such as UV resistance), can be more expensive than basic vinyl.
- Labor costs: These can vary depending on where you live and the rates charged by the professional doing the work.
As a rough estimate, a basic vinyl repair job might cost anywhere from $50 to $150 per seat, whereas a full vinyl replacement could run from $200 to $500 per seat. Again, these are estimates and actual costs could be lower or higher.
Getting a few quotes from your local upholsterers or marine service centers can give you a better idea of what this type of work might cost in your specific area. Just be sure that whoever is performing the work has experience with marine upholstery, since boat seats need to be able to withstand specific environmental factors like UV radiation and salt water (if applicable to your boating environment).
Final Takeaways
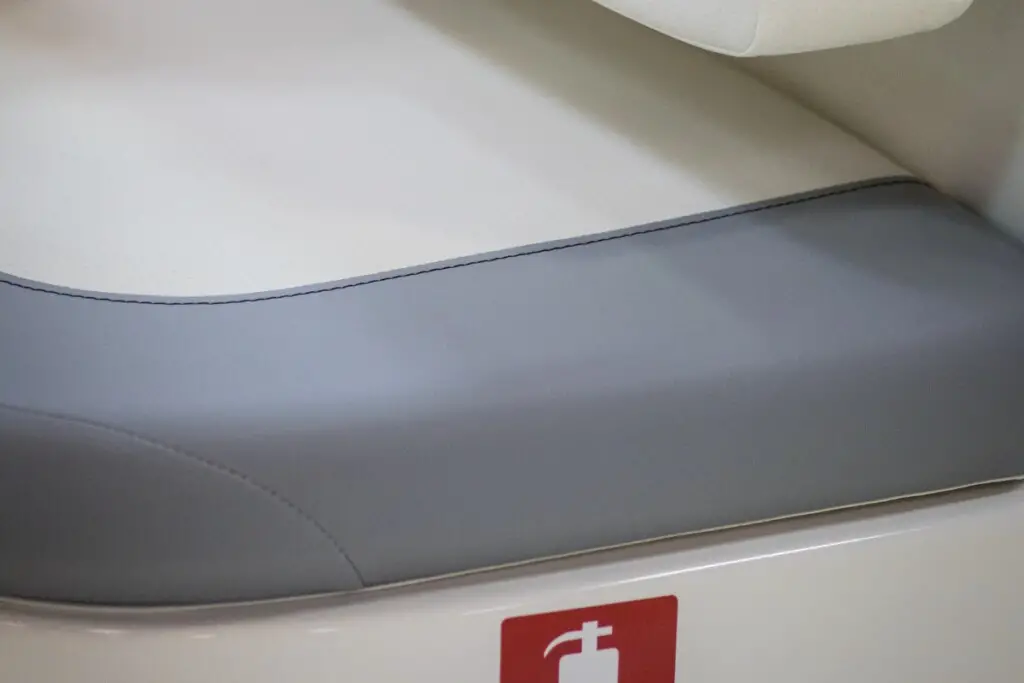
And there you have it! By following this guide, you’ve successfully replaced the vinyl on your boat seat, breathing new life into your boat’s interior. It’s a straightforward process that requires just a few tools and some patience. By choosing quality materials like Marine Vinyl Fabric and the Arrow Fastener T50 Heavy Duty Staple Gun, you can ensure a professional result that will last for years to come.
Remember, the key to a successful vinyl replacement is patience and preparation. Take your time, make sure you have all the necessary materials before you start, and don’t rush the process. With these tips in mind, you’re well on your way to creating a boat interior that’s as beautiful as the open water.
By mastering this DIY skill, you’ve not only saved yourself a significant amount of money, but you’ve also gained the confidence to tackle other boat maintenance tasks. So the next time your boat seats start to show their age, you’ll know exactly what to do.
Happy boating!