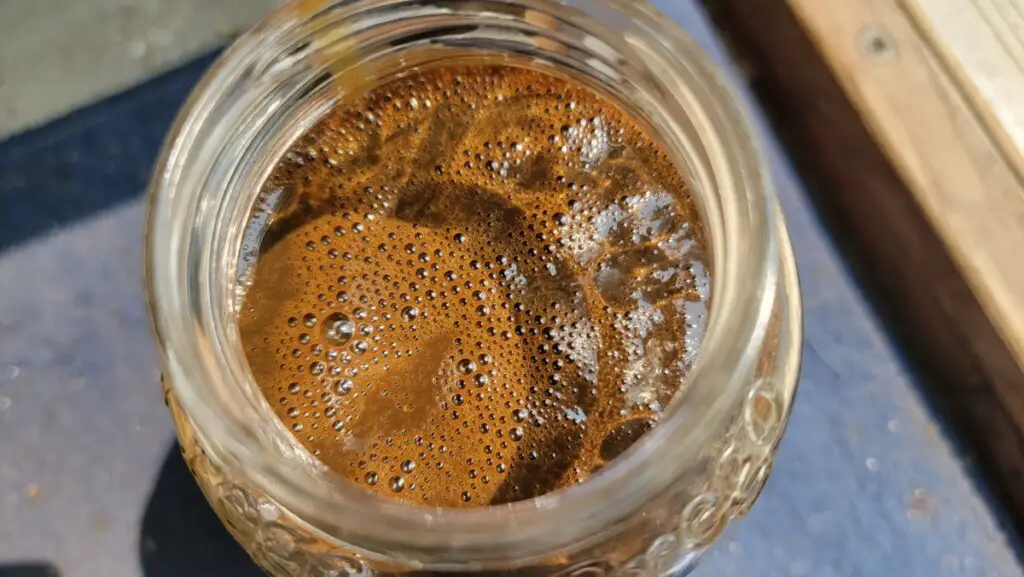
You checked the oil in your 4-stroke outboard and are about to tear into it because the oil is milky, right?
Not so fast!
While there might indeed be a costly reason as to why your oil is less than appealing, there might also be a very simple and cheap fix to solve this milky mess.
An outboard will have milky oil most commonly due to the thermostat being stuck open or being missing altogether. After the thermostat is ruled out, the cylinder walls might be scored, the piston rings damaged, or the head gasket is blown. The milky oil occurs as water is mixed in with the engine oil and emulsifies under very hot operating temperatures.
That’s the quick and easy answer for you. If you’d like to find out more about why this is happening, please continue reading and we’ll get you pointed in the right direction to get you fixed!
| Cause of Milky Oil | Why It’s Milky | How to Fix It |
|---|---|---|
| Stuck Open or Missing Thermostat | A stuck or missing thermostat results in condensation inside the cylinder walls due to constant extremes of heat from the engine and cold water from the water pump. This condensed water works its way past the piston rings and into your oil, causing it to appear milky. | Test the thermostat by using boiling and cold water tests. If the thermostat is faulty, replace it. Then, change your oil. |
| Scored Cylinder Wall | A dislodged piece of burnt carbon from inside your combustion chamber can score a gouge in the steel of the cylinder wall. This path allows oil to travel up into the combustion chamber and bypass the rings, and also allows fuel and exhaust to blow past the piston and into the oil, turning it milky. | The engine will need to be disassembled and the cylinder walls inspected and possibly honed or replaced. A professional mechanic should be consulted. |
| Damaged Piston Rings | Damaged piston rings can allow oil to enter the combustion chamber and fuel and exhaust (with water vapor) to blow back into the oil, causing it to become milky. | If piston rings are damaged, the engine will need to be disassembled and the rings replaced. This should be done by a professional mechanic. |
| Blown Head Gasket | A blown head gasket can allow cooling water to enter the combustion chamber and work its way down past the piston rings and into your oil, turning it milky. | If the head gasket is blown, it will need to be replaced. This is a job that can be DIY but should be done by a professional mechanic if you’re not mechanically inclined. |
| Cracked Engine Head or Other Part of the Engine | If the engine head (or other part of the engine) has cracked, it can allow cooling water to spill into the combustion chamber and work its way past the piston rings and down into your engine’s oil, causing it to turn into a milky color and consistency. | Depending on where the crack is, you might be looking at replacing the entire engine instead of simply replacing a part. A professional mechanic should be consulted. |
Stuck Open or Missing Thermostat
A stuck or missing thermostat will cause condensation to occur inside your cylinder walls due to the constant extremes of heat from the engine and cold water from the water pump. The condensed water will work its way past the piston rings and into your oil which will make it milky.
Let me explain why.
Having a stuck or open thermostat result in milky oil is perplexing at first glance. Think of it like referred back pain. You might have a very tight hamstring in your leg that torques on your pelvis and causes pain in between your shoulder blades from the compensation.
Fixing between the shoulder blades isn’t going to solve the problem, and either is simply changing your oil.
When your outboard is running at normal operating temperatures, the water pump in the lower leg (bottom portion of the outboard that is in the water) is sending up water to cool your engine.
However, when you first start your outboard, this water is supposed to primarily exit the tell tale, or pee/indicator hole, and not cool your engine just yet. The engine needs to get up to operating temperatures first before the thermostat opens up and allows water to start cooling it. If the thermostat was stuck open from the start, then it would be cooling a cold engine that is trying to warm up for optimal combustion.
Essentially, the water is kept trapped inside the engine (which is getting hotter) and not circulating which would bring in new cold water. The stream of water coming out of the water indicator is just the pressure relief.
A cold engine is inefficient, as it makes combustion harder since the gasoline is less volatile and the air is more condensed. You’re essentially running lean at first.
When the engine’s temperature finally gets to a predetermined temp on the thermostat, the thermostat will open and allow new water in to help cool the engine’s head and cylinder to keep it at the ideal temperature for combustion.
When your thermostat is stuck open or missing, the engine will always have a very difficult time coming up to an ideal temperature for combustion. The cylinders will be trying to get hot but will constantly be cooled by new, cold water.
This is where we get problems with condensation.
You’ve got hot cylinders internally, and a very cold environment around them causing the cylinder walls to become cold despite the combustion internally. The extreme difference in temperatures causes condensation from any moisture in the air to form on the inside of the cylinder walls like you would find if you brought a cold can of beer out of the fridge on a 90-degree day.
The condensation will slowly make its way down past the piston rings and into your oil with each stroke of the engine.
The end result is that you have milky oil due to water condensate being mixed into it.
Luckily, thermostats are cheap and this should be an easy fix. Simply install, and change your oil.
How to Test a Thermostat
- Boiling water test: Fill a pot with water and heat it on a stove until it reaches the thermostat’s opening temperature (usually marked on the thermostat itself or specified in the engine manual). Place the thermostat in the boiling water using tongs or a similar tool. Observe if the thermostat valve opens as the water reaches the specified temperature. If it doesn’t open, the thermostat is faulty and should be replaced.
- Cold water test (optional): After performing the boiling water test and confirming that the thermostat opens, you can also test its closing function. Remove the thermostat from the boiling water and place it in a container filled with cold water. The thermostat valve should close as it cools down. If it doesn’t close, the thermostat is faulty and should be replaced.
How to Fix: Generally, the steps to remove, test, and replace a thermostat are as follows:
- Locate the thermostat: First, identify the location of the thermostat by referring to your engine’s manual or online resources. The thermostat is usually housed in a thermostat housing or cover, which is connected to the engine block and the coolant hoses.
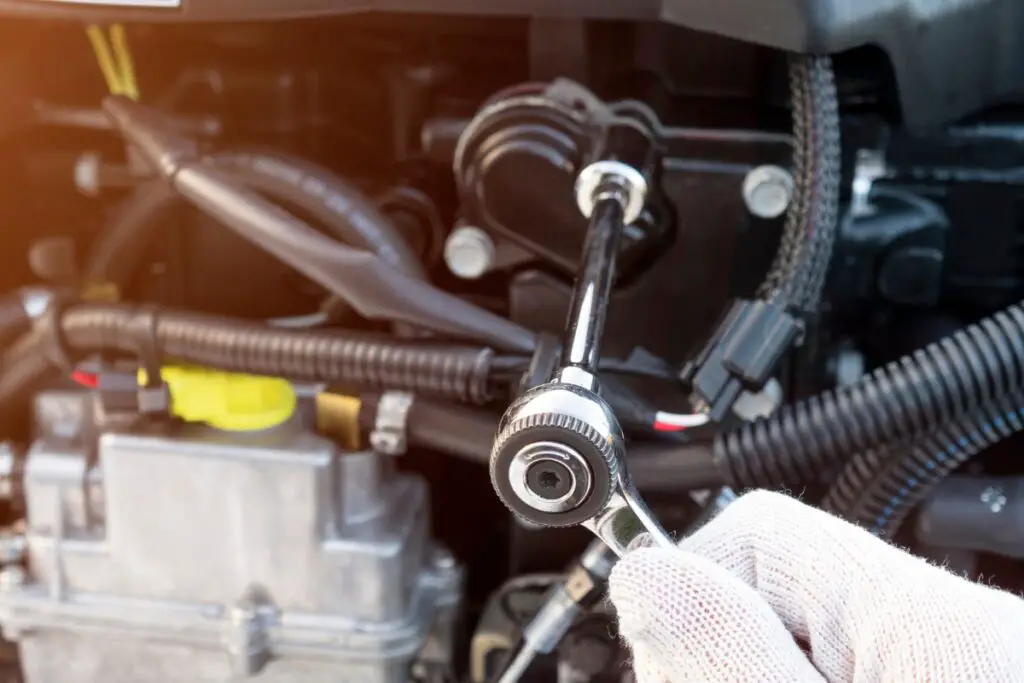
- Remove the thermostat: Disconnect any hoses, clamps, or fasteners, and carefully remove the thermostat housing cover (usually 2x10mm bolts) to access the thermostat. Remove the thermostat from its seat.
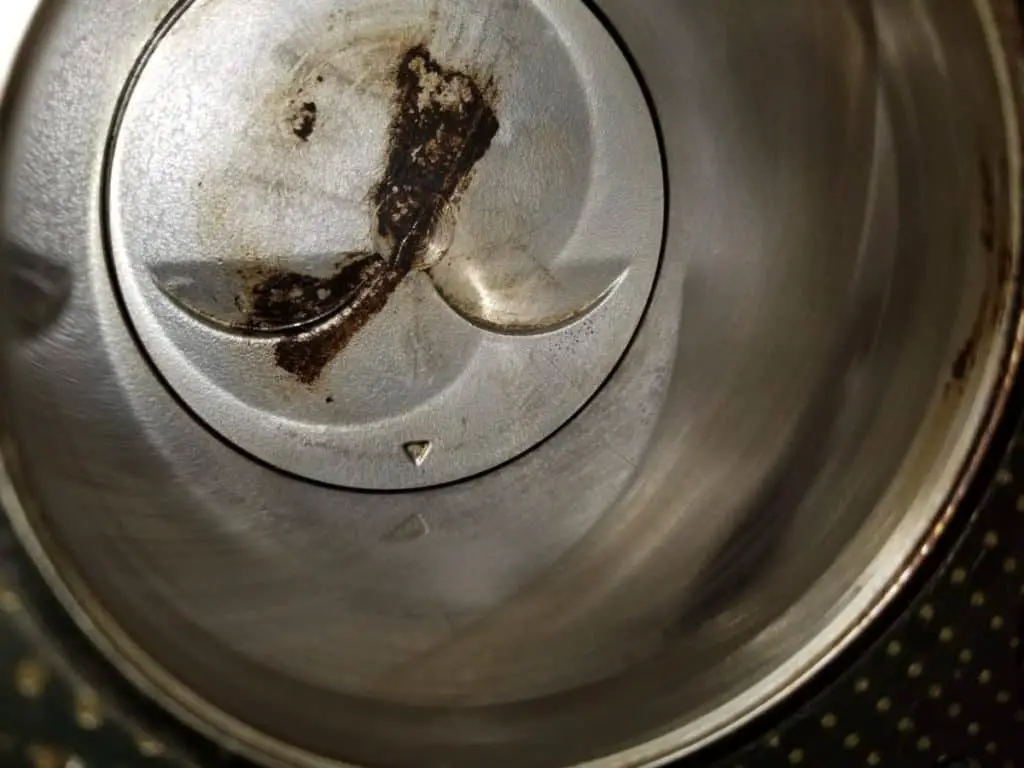
- Inspect the thermostat: Visually inspect the thermostat for any signs of damage, corrosion, or debris. If it appears to be in poor condition, it’s best to replace it.
- Reinstall or replace the thermostat: If the thermostat is functioning correctly, you can reinstall it in the engine, making sure to replace the gasket if necessary. If the thermostat is faulty, replace it with a new one that matches the specifications for your engine.
- Reassemble the thermostat housing: Once the thermostat is reinstalled or replaced, reattach the thermostat housing cover but gently torque them down. The cover is generally made of aluminum and will easily crack if you try to overtighten. Go ahead and reconnect any hoses, clamps, or fasteners and test your engine again.
Scored Cylinder Wall
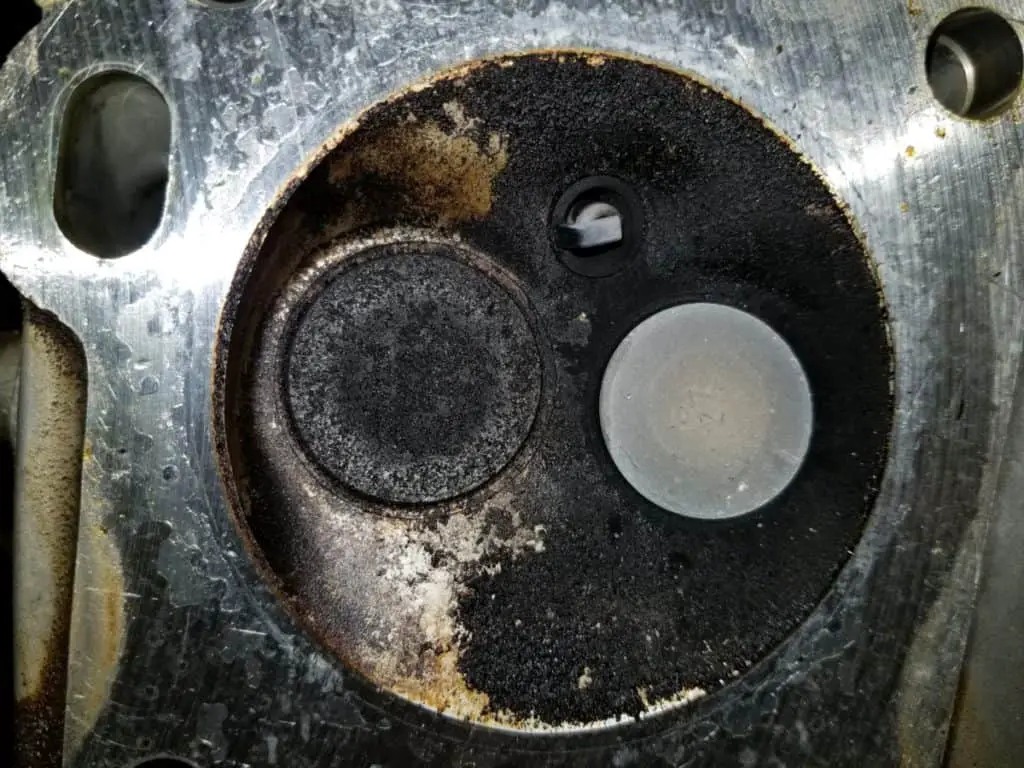
Hopefully you don’t have the milky oil issue from a piece of dislodged burnt carbon from inside your combustion chamber, but it can happen to the best of us.
If your engine has been running rich, carbon will build up inside the combustion chamber. It will basically form into a hard layer of charcoal.
If a piece of the carbon layer flakes off, it can wedge itself between the moving piston and the cylinder wall and simply score a gouge in the steel.
Now, that path allows oil to travel up into your combustion chamber and bypass the rings, and it also allows fuel and exhaust to blow past the piston and into the oil which can turn it milky, since there is still water vapor inside of the exhaust.
How to Fix: Have a professional inspect your cylinder wall and determine if it can be honed or what the best course of action is.
Piston Rings Damaged
The same concept as above applies to a piston ring being damaged. The piston rings act as a lubricated seal between the combustion chamber and the crankcase where the engine oil is. If they are not sealing properly, then it is also not only allowing oil to enter the combustion chamber, but it is also allowing fuel and exhaust (with water vapor) to blow back into the oil and can turn it milky.
How to Fix: Piston rings must be replaced and cylinders must be inspected for damage. While this is possible to do yourself, it’s a very in-depth process that should be handled by a professional.
Blown Head Gasket
Finally, you might also have a blown head gasket that ruptures from the combustion chamber itself out to the cooling water jackets that surround the cylinders.
With a break of this gasket, every time the piston descends, it will suck in cooling water into the combustion chamber which will work its way down past the piston rings and into your oil.
Conversely, when the piston drives up, it will expel exhaust through the hole in the gasket and into the cooling water jackets. This sudden influx of hot gas into the cooling water will cause the water coming out of your indicator to start to stream erratically as air is being blown back through the line.
How to Fix: Replacing the head gasket is a job that can certainly be done at home if you’re mechanically inclined, but you must be very careful when dealing with the bolts that hold the head on the engine. You do not want to torque them improperly! Check out YouTube where you can find countless videos on various makes and models of marine engines and you can follow along.
Cracked Engine Head (or Other Part of the Engine)
The worst possible scenario would be that your engine head (or other part of you engine) has physically cracked and that crack has now bridged the gap between the combustion chamber and the cooling water that is supposed to surround it.
Once again, this crack would allow cooling water to spill into the combustion chamber and work its way past the piston rings and down into your engine’s oil, which will cause it to turn into a milkshake.
This is the worst possible scenario, because depending on where the crack is, you might be looking at replacing the entire engine instead of simply replacing a thermostat or head gasket.
How to Fix: Consult a professional marine engine mechanic. You’ll likely be replacing the entire engine, depending on what is cracked.